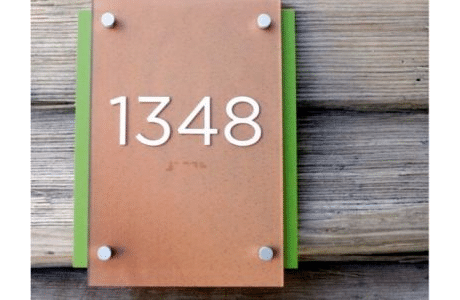
Looking for an ADA sign fabricator? Browse trusted fabricators specializing in creating high-quality ADA signs.
Photopolymer Signs
The Nova System
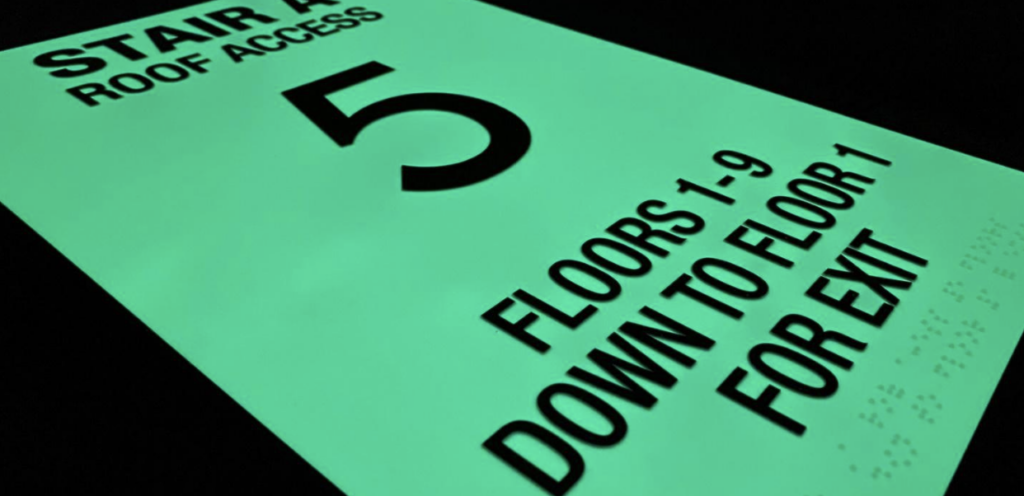
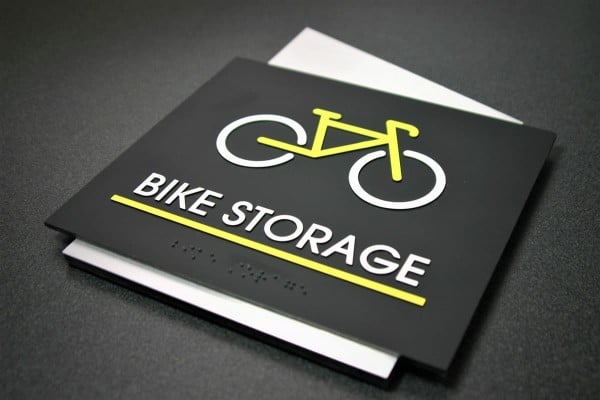
Discover how to create photopolymer signs effortlessly with Novacryl®. Our streamlined process guarantees high-quality, 100% ADA compliant braille and accessible room identification signage. At Nova Polymers, we simplify this process and provide all the resources needed for proper processing and 100% ADA compliance.
How to Make Photopolymer Signs
Software
The Workflow Manager, a sign design software tool, streamlines the sign production process, enabling efficient project management and ensuring federal and California ADA compliance because all the ADA compliance specifications are embedded into the software. This ensures sign fabricators’ design teams can seamlessly produce high-quality and 100% ADA compliant signs.
Software developed for sign fabricators to create ADA compliant braille signs.
2. Inkstar Film
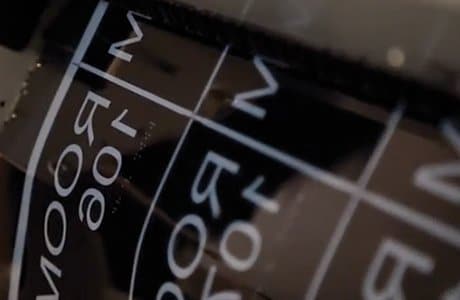
Make high-quality film negatives and positives with the correct density.
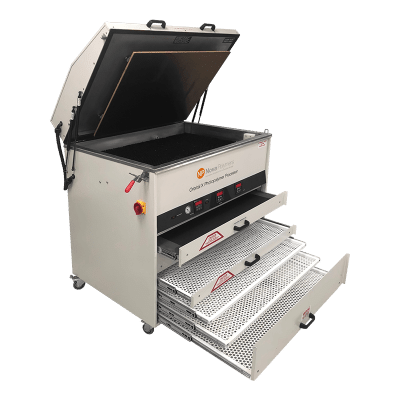
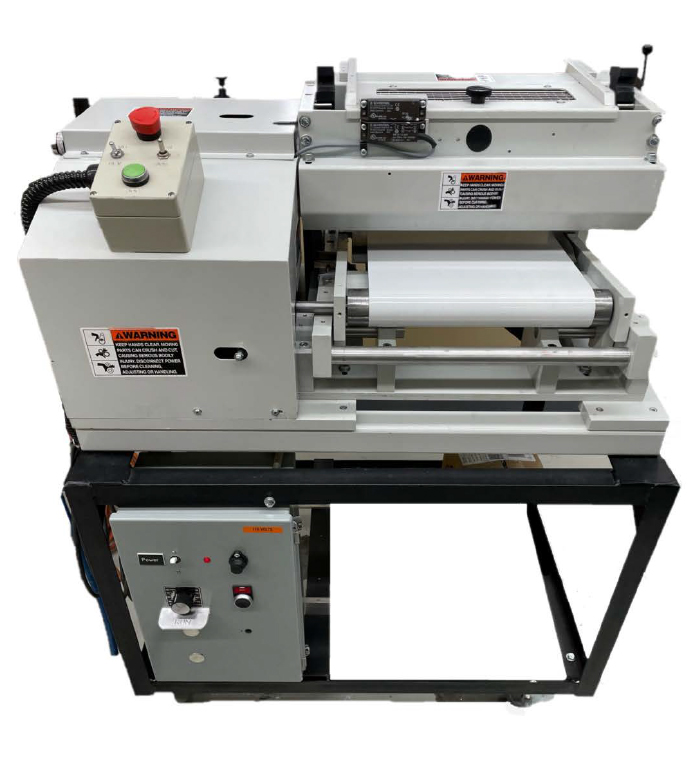
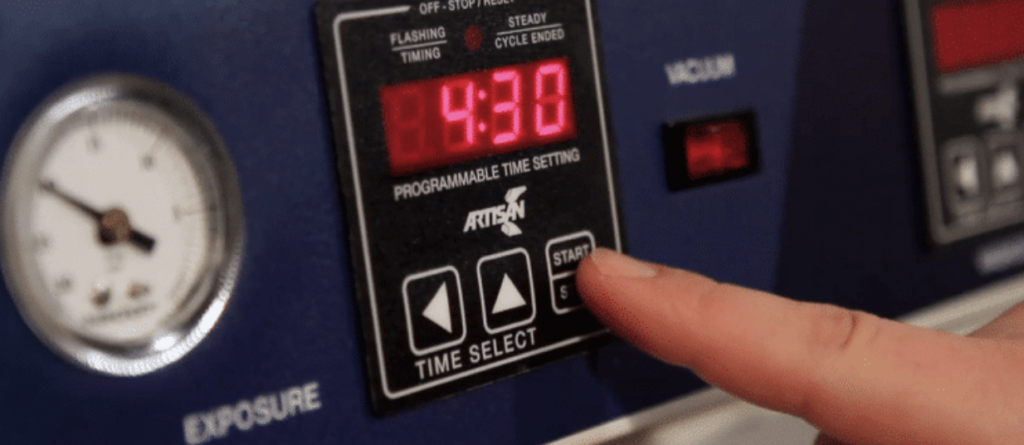
3. Orbital X Processor
Features orbital washout, exposure section, 3-drawer dryer, and post-exposure section.
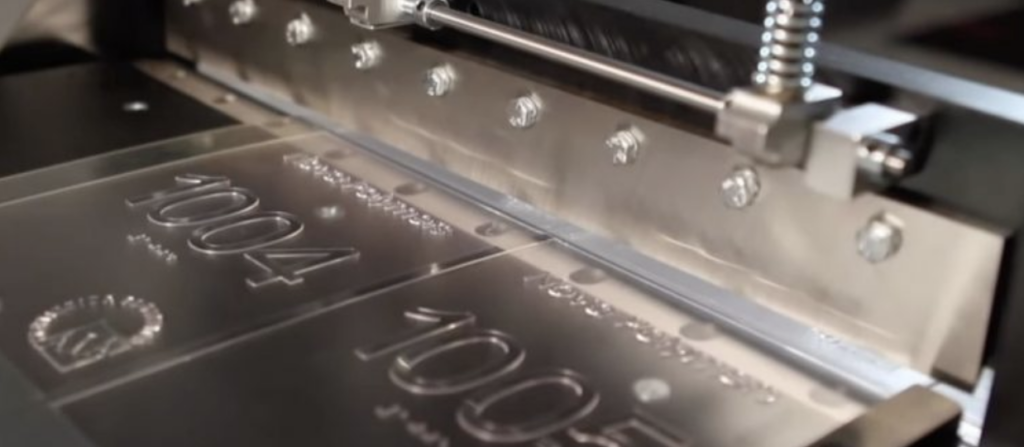
4. Accucutter, Router, or Laser
Compact bench shear with the precision and power of a larger guillotine shear.
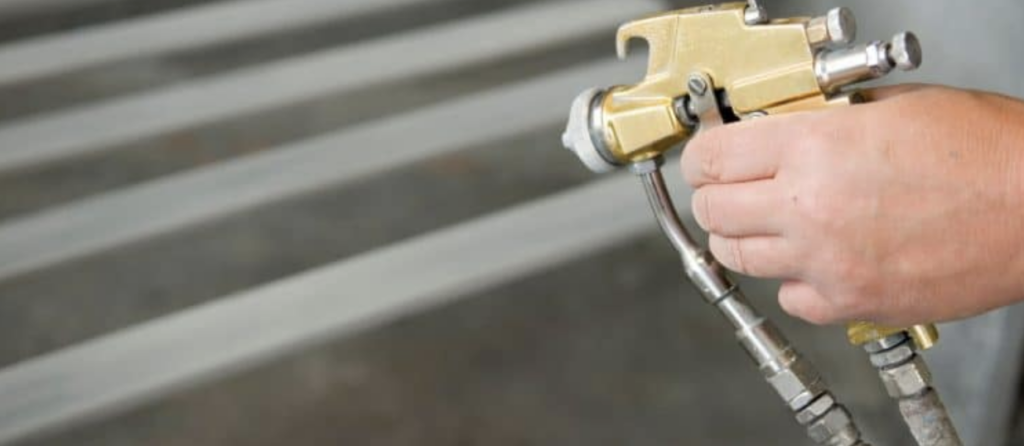
5. Color Pro Ink Tipping Machine
Simple operation, color-matching flexibility, and fast ink-tipping processing and speed.
6. Packaging & Shipping
Finish with general assembly, packaging, and shipping.
The Nova System offers an easy five-step process to create photopolymer signs. With its streamlined approach encompassing film creation, sign making, cutting, and color application, the Nova System simplifies the production of high-quality, customized signs while ensuring ADA compliance and visual appeal.
NOVA Polymers 5 Step Process
Processing Novacryl® photopolymer signs is easy and straightforward, resulting in high-quality ADA compliant braille and accessibility room identification signage.
At Nova, we make this process easy to follow and understand. There are five simple steps, and we provide all the resources necessary to process correctly and ensure ADA compliance.
Our Novacryl Processing Guidelines will walk you through the details associated with actual processing time and procedures.
Step 1
Contact With Film Negative
Place a high-density film negative on top of the photopolymer sheet.
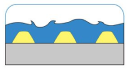
Step 2
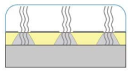
Exposure with UV Light
There is a bank of UV lamps that shine down and pass through the clear areas of the film negative and expose the photopolymer material.
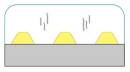
Step 3
Wash in Plain Tap Water
The unexposed photopolymer gets washed away during the washout process in plain tap water. The photopolymer effluent is 100% biodegradable and goes right down the drain. You are left with the exposed raised images.
Step 4
Drying
Dry the moisture off the material. The photopolymer and the base PETG do not absorb moisture during the washout – drying is to evaporate any standing moisture left on the sheet.
Step 5
Post Exposure
Post exposure is a second exposure to fully cure, harden, and activate the photopolymer. This is the final step in processing the photopolymer.
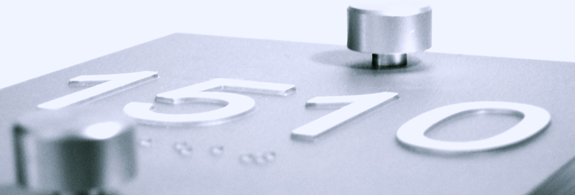
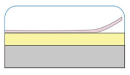
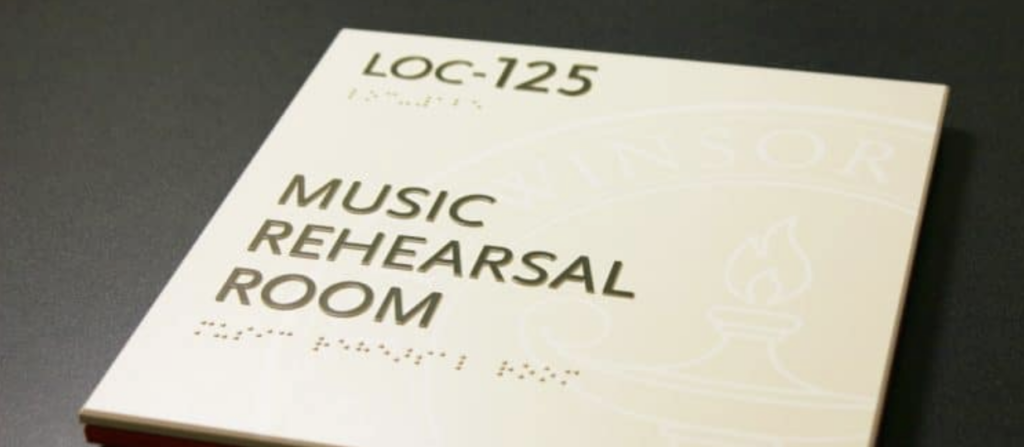
Note
This shows how the Braille will appear after the top coating